BOX BY BOX KITCHEN AND BATH DESIGN
Kitchen and Bath and full Home Renovations
Phone: 647-772-3762
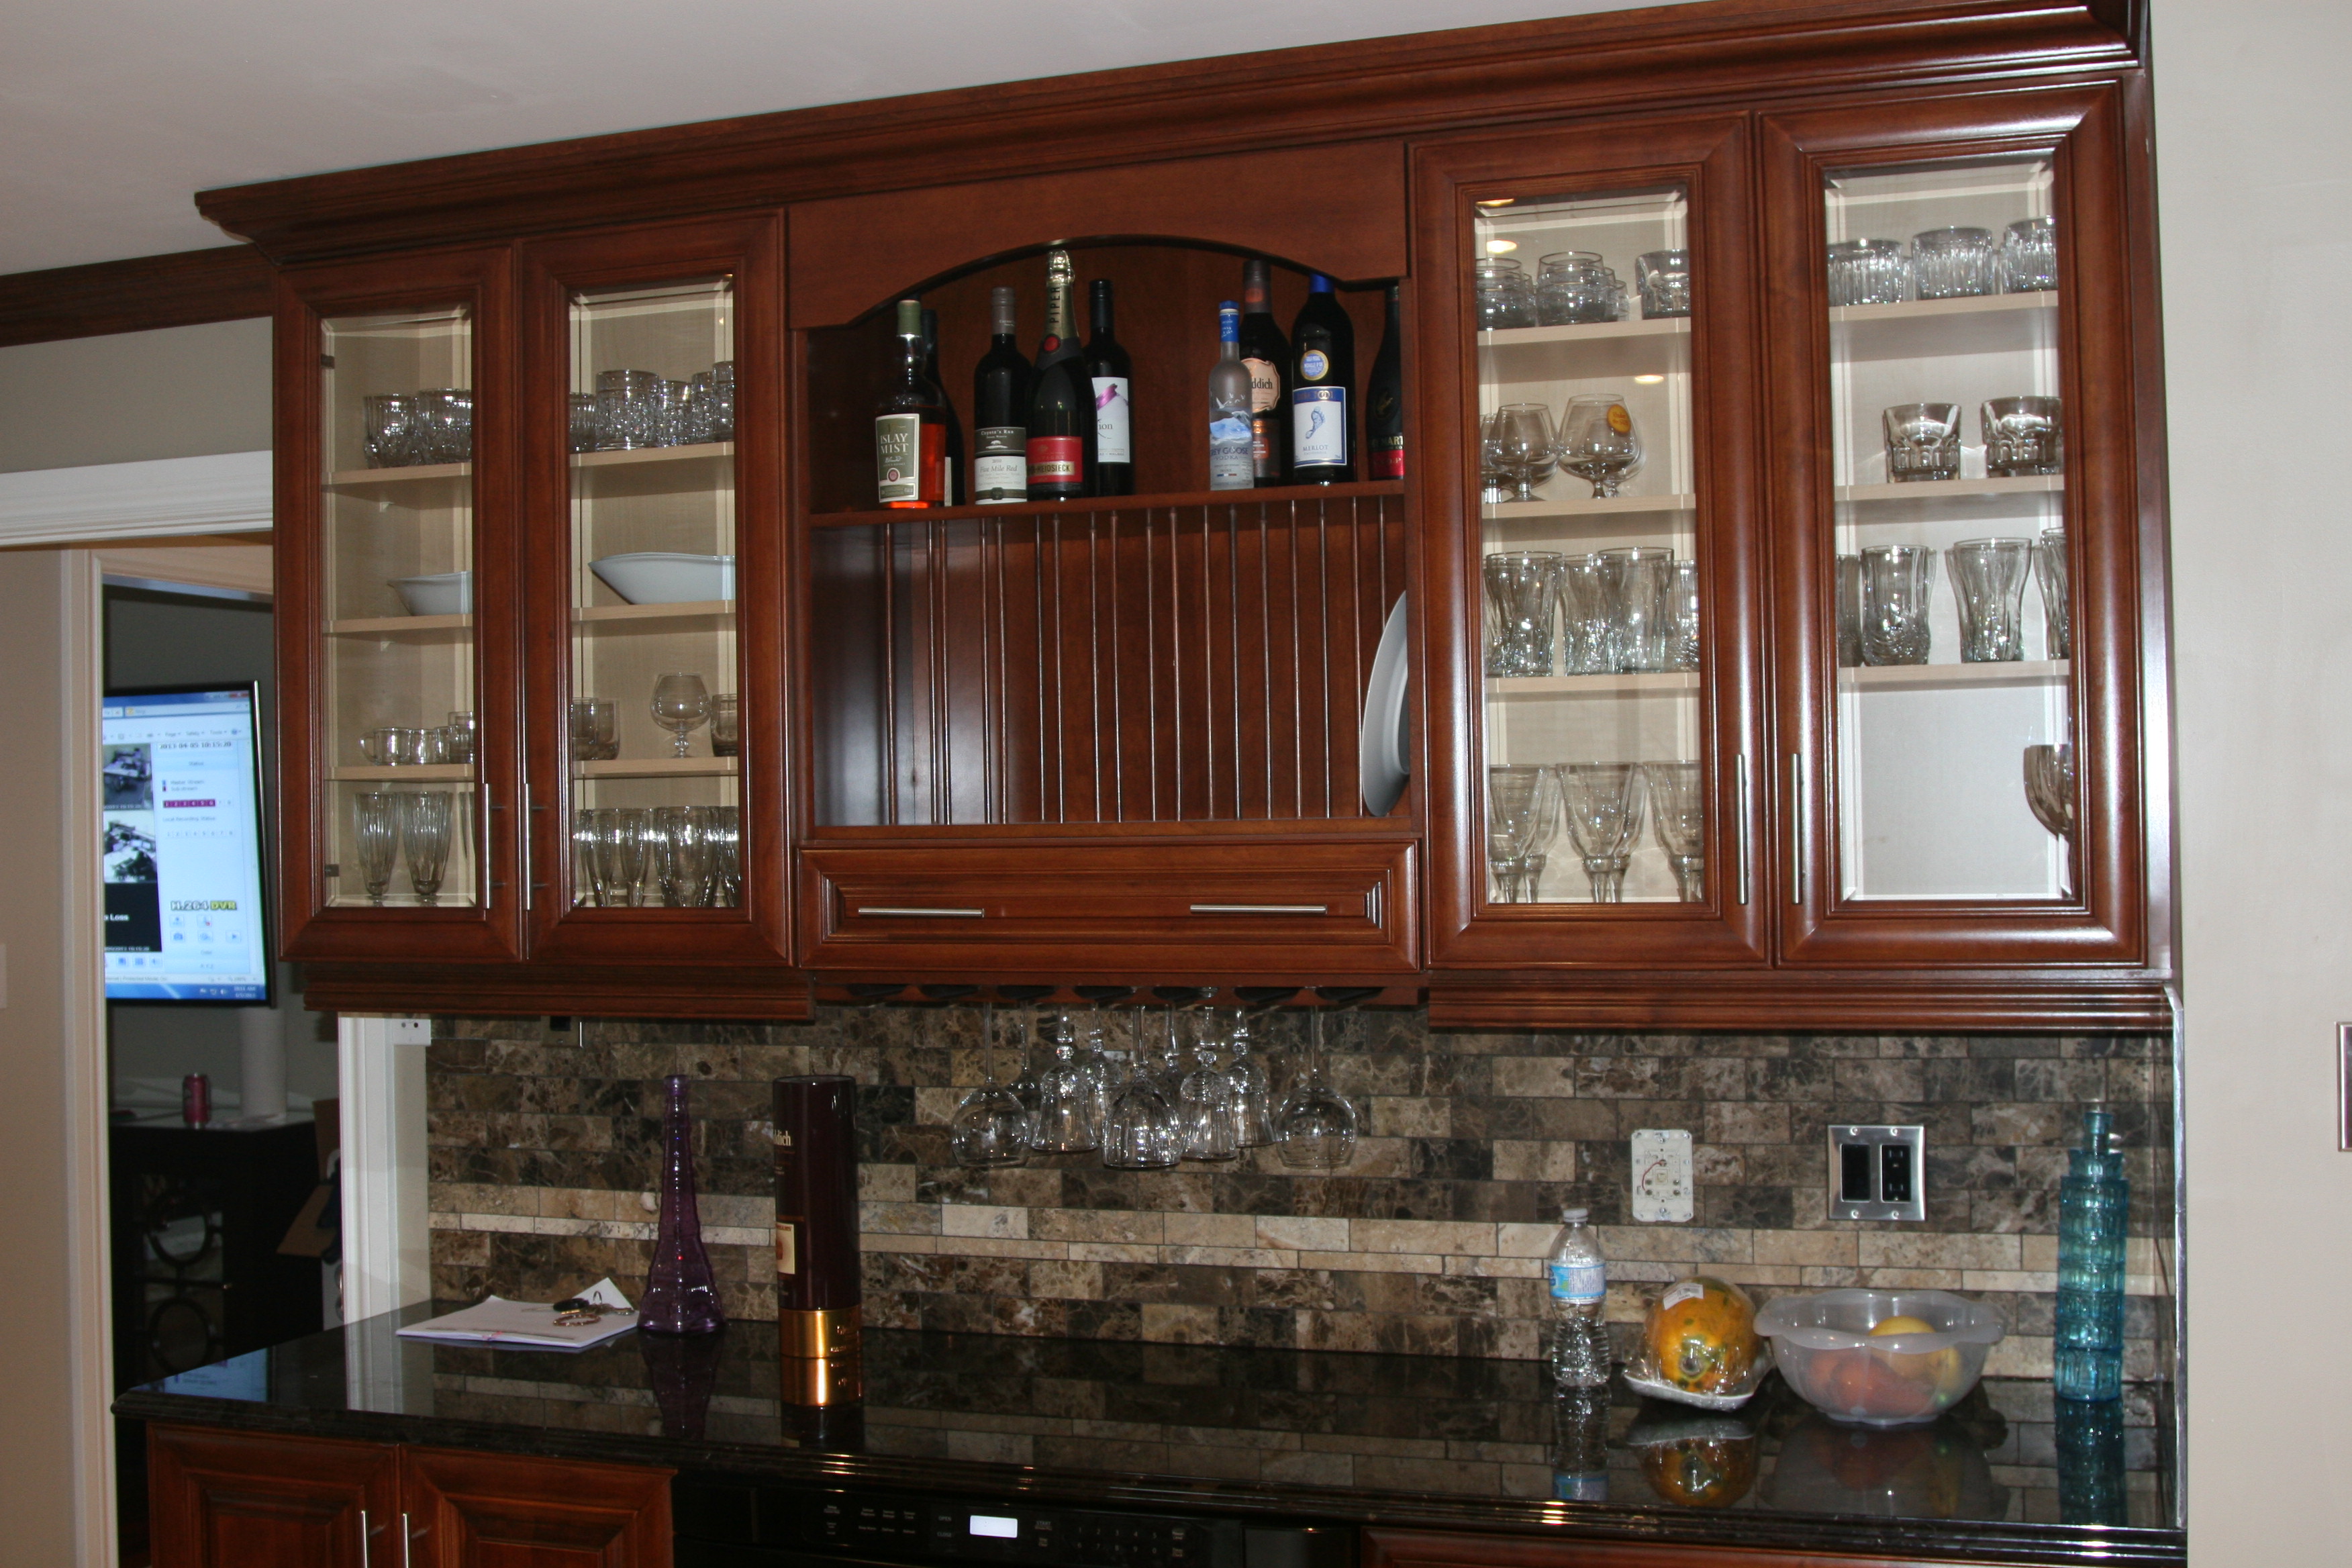
How To Tile a Backsplash
A backsplash can add beauty, protection and satisfaction to your kutchen. You may wish to hire someone to install one for you or you may wish to do it yourself. If you choose to do it yourself we have a few tips that will help you to install a beautiful backsplash.
TOOLS AND
MATERIALS
Decorative tiles
Tape measure
Pencil
Graph paper
1x2 ledger board
Drill with drill and screwdriver
bits
Drywall screws
Level
Sandpaper or pumice
stone
Wall tile mastic
Notched trowel
Wide putty knife
Tile spacers
Dry tile cutter
Grout
Squeegee or tile
float
sponge
Caulk
Joint compound
Paint
Paintbrush
DIRECTIONS
1. Measure the width and height of the area to be covered with your tiles. Next, determine your tile pattern using graph paper to draw a to-scale outline.
2. Remove the stove and range hood and shut off the power to any outlets or switches and remove the cover plates. Use a level and pencil to mark the baseline of your backsplash. Align the temporary 1x2 ledger board, which will help hold tiles in place during installation, along the baseline. Use a drill to create starter holes for the screws in the board and drive in three or four screws to attach the board to the wall.
3. Measure and mark the visual center point of your layout and use a level to draw a plumb starting line for aligning the tiles vertically. Lay out the tiles on the graph paper pattern on a countertop.
4. Starting at the center of the wall along the ledger board or counter, begin the bottom row of tile by applying tile mastic to a small section of the wall using a grooved trowel. Center the first tile over the vertical line leaving a gap of about 1/8" at the bottom for a bead of caulk to be applied at the end of the process. Wiggle and press the first tile into place, inserting a temporary 1/8" spacer vertically next to the tile on either side. Install the second tile in the same manner. Continue installing tiles working away from the centerline.
5. When you need to cut or trim a tile at the end of a row or around an electrical outlet, cut the tile as you go along using a scoring cutter. Mark the tile where you want to cut it, then place the tile in the tool and score a mark in the tile surface. Then, sharply move the cutter handle to break the tile along the scored line.
6. After all the tiles are installed, let the mastic set up overnight. Mix the grout according to manufacturer's directions. Then apply the grout over the tiles and press into the gaps using a rubber float and holding it at a 45 degree angle. Wipe off the excess with a wet cloth.
7. Allow the grout to set up for about an hour, then clean off the hazy surface on the tiles with wet sponges, rinsing them regularly as you go. Buff the tiles with a clean dry cloth.
8. Reattach the cover plates over outlets. Apply a bead of caulk (the same color as the grout) along the bottom seam where the backsplash meets counter adjacent to the ledger board. Replace stove and hood. Remove the ledger board, fill in screw holes with joint compound, sand smooth when dry, and touch up wall with paint.
TIPS
xby
How to install
your kitchen.
How to make your bathroom beautiful.
Make a bold visual statement with your countertop.
Luxurious flooring.
How to tile your backsplash.
How to plan your kitchen.
Why reface your kitchen.
Should I refinish my kitchen cabinets.
Is a melamine kitchen a good investment.
How to choose
your kitchen renovator.
The kitchen renovator to avoid.
Why are contractors always late?
Home renovation if the GTA.
Trouble free renovations
Dont let your budget choke you.
(Copyright) www.boxbyboxkitchenandbathdesign.com. All Rights Reserved. 2012. Designed and developed by www.gomamawebdesign.com