BOX BY BOX KITCHEN AND BATH DESIGN
Kitchen and Bath and full Home Renovations
Phone: 647-772-3762
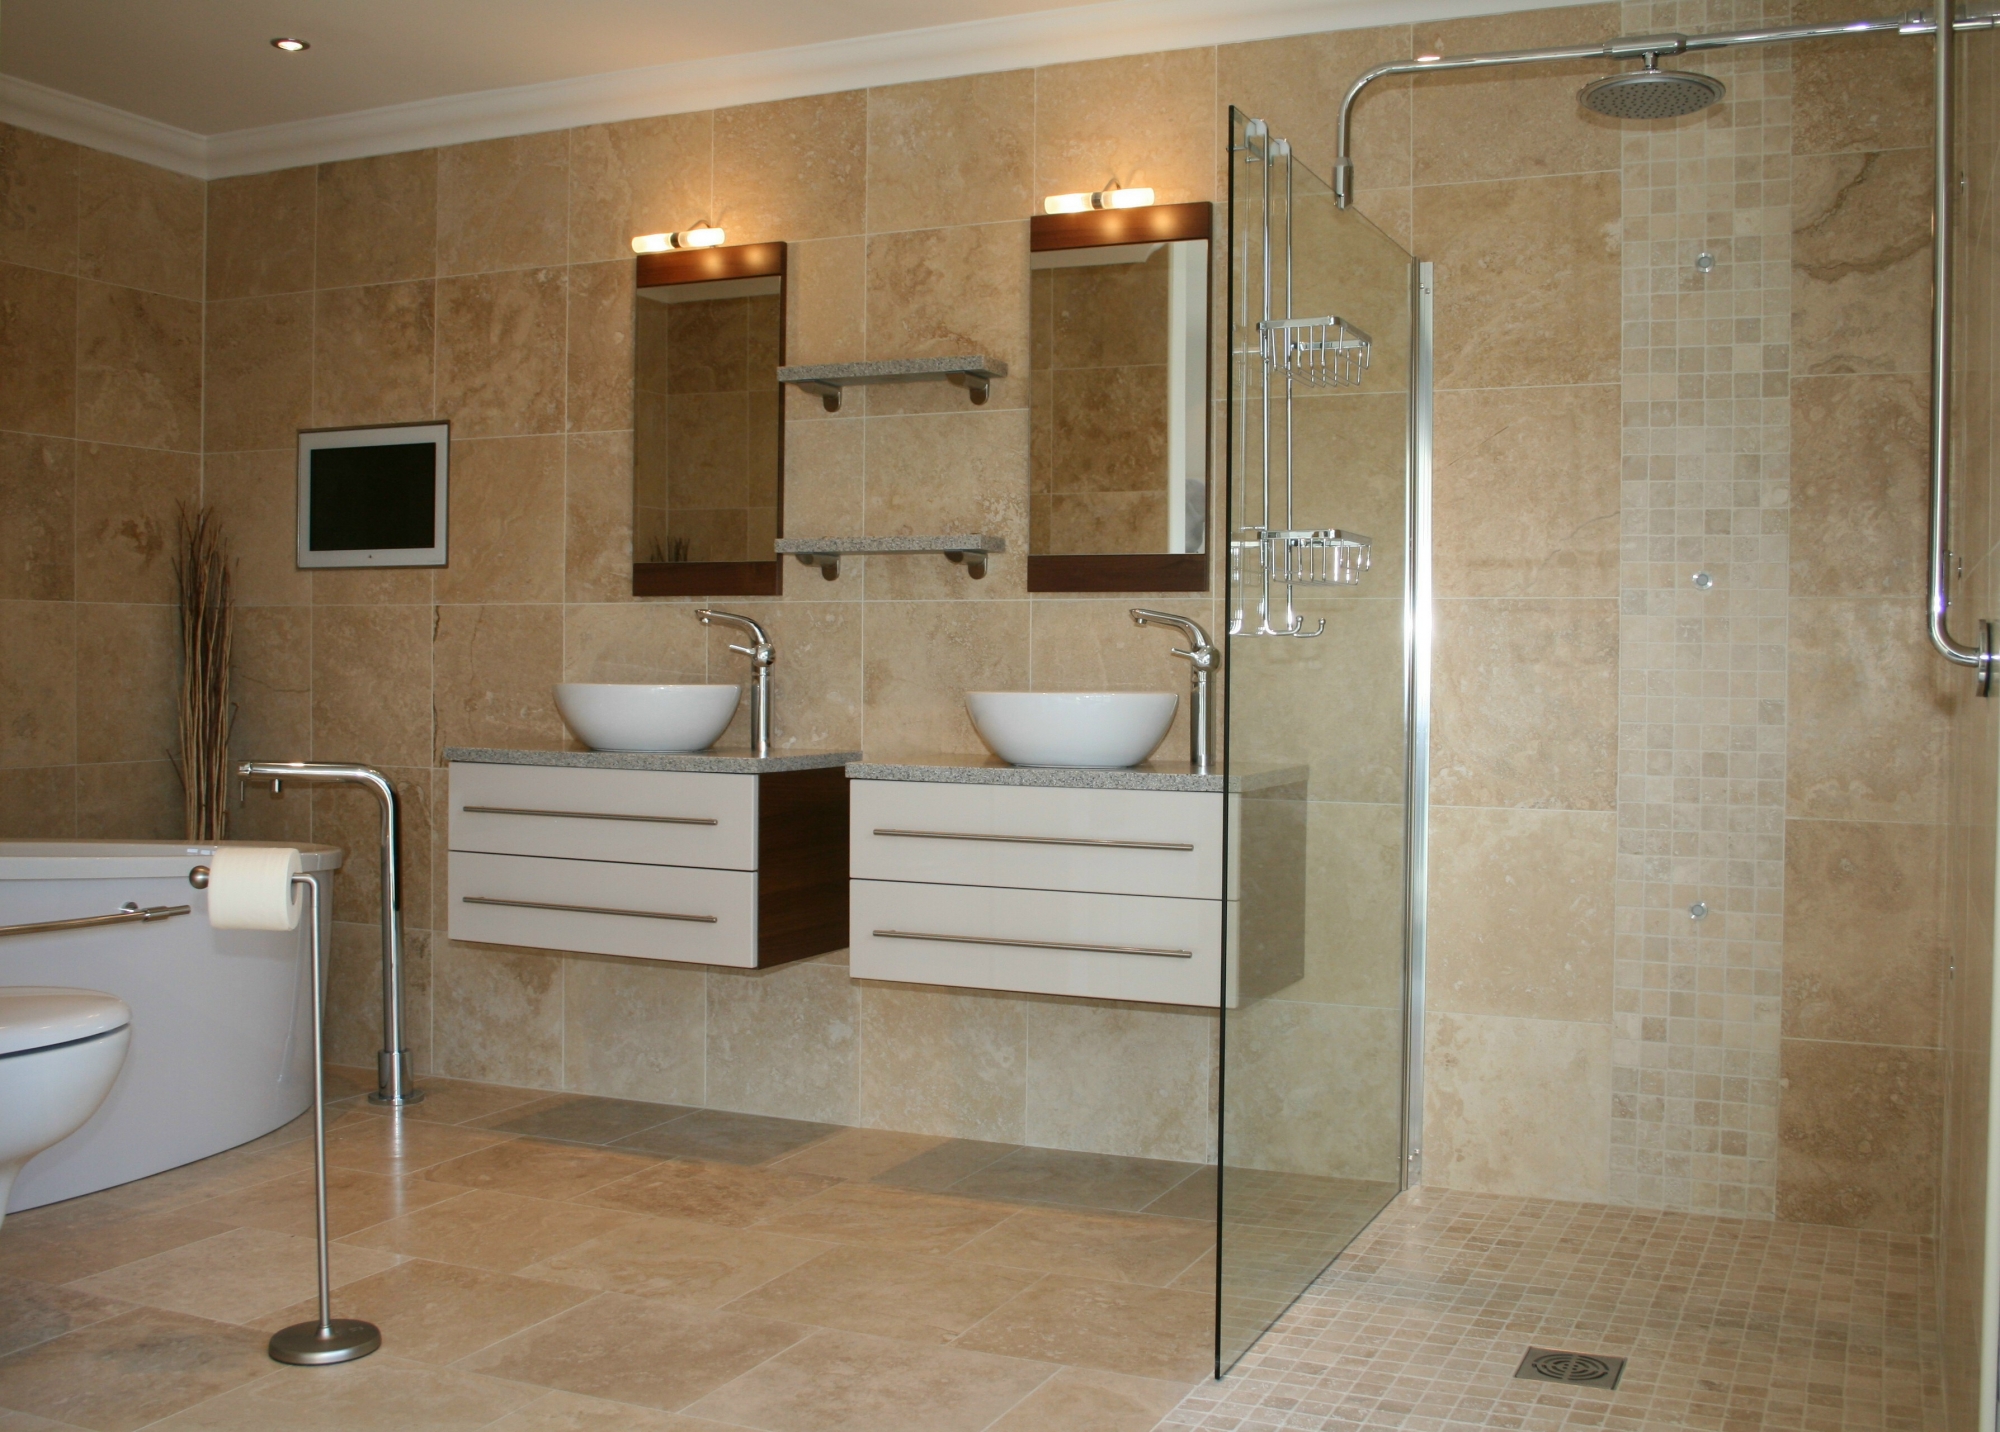
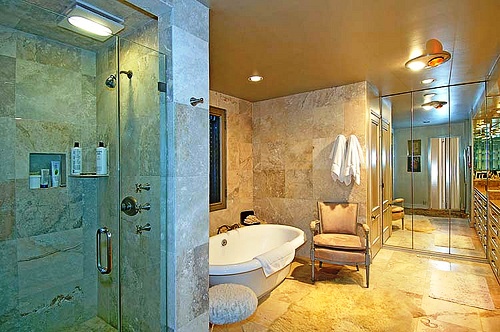
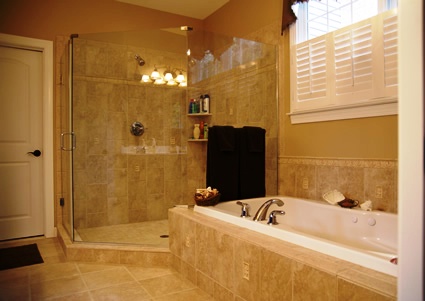
The bathroom can either be the least important or the favorite place of a homeowner aside from the bedroom. It is that one place in the entire house where anyone can have their thoughts cleared; where they can do anything they want, and yes, ANYTHING. That is why it is important to make sure that how the bathroom looks should be presentable to the eye as well. It should be calming, and sometimes inspiring, although others find this unnecessary.
The problem sometimes with bathrooms however is that the space allotted for its constructions is small compared to other parts of the house and it may need tedious planning to get the job done, especially when you are starting to work on the walls. Usually, only a person or two works on the area, and sometimes, that is a crowd. That is why it is important that work time and labor are used in an efficient manner.
In order to work with the walls in an efficient manner, the first thin thing that should be done is to prepare the walls for tiling. When doing this, you only need to remember one thing – tiles do not cling on surfaces with articles stuck to them. The surface should be dry and smooth at all times. That is why you may need to do the following:
In addition, a thin layer of adhesive should also be applied to the wall beforehand because this will gift the tiles a surface to properly cling on to. A pattern is usually thought off before going to the hardware store to buy the tiles, but planning may not be possible if you do not know the tiles available for purchase that would fit the bathroom. Eventually, you will come up with one though, and you can start installing them after you bought the tiles that you need.
Next is to layout the surface where you are going to install the tiles. It is as easy as determining where the tiles go and how apart from each other they will be. In addition, you may need to determine which areas will other fixtures in the bathroom will go including cabinets and the bathtub so that you can anticipate the necessary changes that you might need to do to accommodate these fixtures.
Start installing from the bottom where you should place a support piece beneath the first row of tiles which will give the tiles to attach to the wall. Once set, press the tiles with a slight twist – never slide – to make it cling o the wall. Do not forget the spacers in between each tile because that will be where the grout is placed. Do these to several rows above it and once you have done that, set them again using a mallet, but remember to do it lightly.
The most difficult part in the entire process may be the part when you have to cut the tiles in order to accommodate the space left or the shapes that is being presented by the room. When trying to make straight cuts, it can easily be done with saws, but you may need practice if you are going to cut in order to fit different shapes. You may also snap it my hand if you are strong enough, but you risk wasting a tile, or worse, cutting yourself.
The grout is applied by pouring it into the gaps and guide its way using a brush. If there are any excess, wipe it off with a damp sponge.
(Copyright) www.boxbyboxkitchenandbathdesign.com. All Rights Reserved. 2012. Designed and developed by www.gomamawebdesign.com