BOX BY BOX KITCHEN AND BATH DESIGN
Kitchen and Bath and full Home Renovations
Phone: 647-772-3762
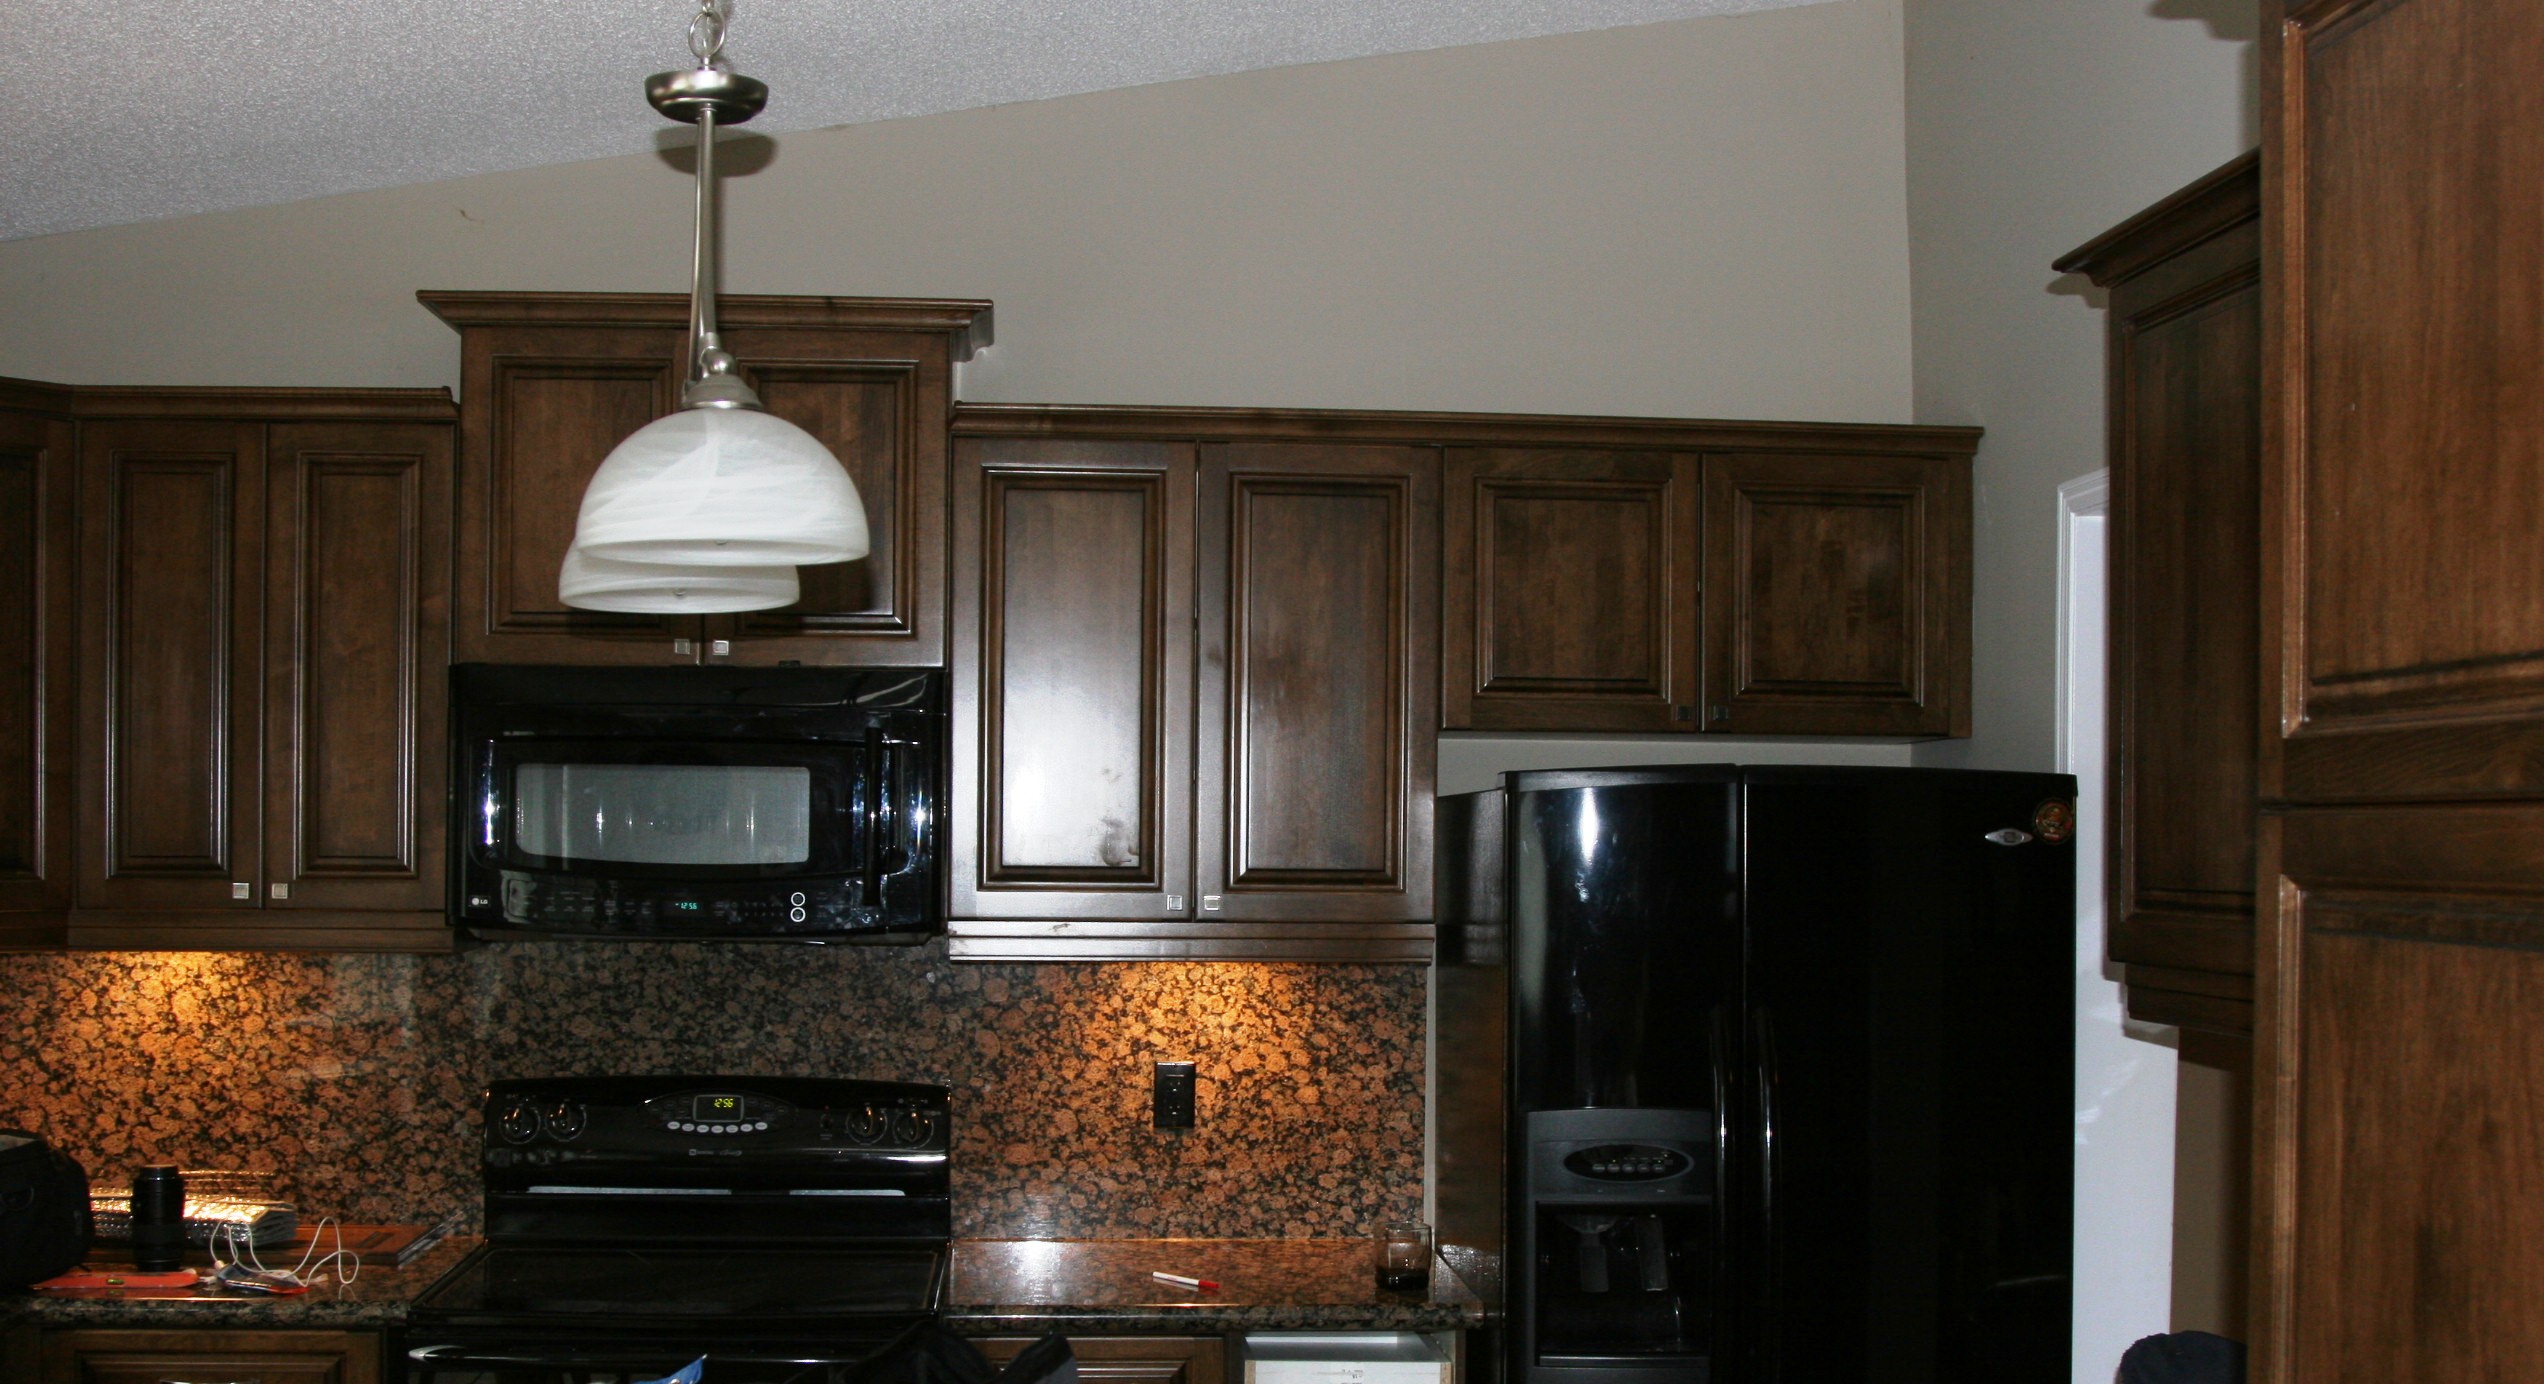
If you are thinking to give your kitchen a face-lift you may want to consider the option of Refinishing. Kitchen Cabinet Refinishing is only an option where you have painted or stained wood cabinets, or painted MDF cabinets. it is not an option for Melamine or Thermoplastic kitchen cabinets.
Refinishing your kitchen cabinets is a lot of hard work, but you can certainly do it yourself and you can have an entire new-looking kitchen in as short as a weekend. Before you get started, here are some of the tools that you will need to have ready.
Here are the equipment that you will need for the project:
1. Sandpaper,
sanding blocks or a sander
2. Rubber
Gloves
3.
Cleaning Cloths or Rags
4.
A Gel Stripper
5.
New Cabinet Hardware (Optional)
6.
New Paint, Shellac or Varnish
7. A Dust Mask
Removing
Cabinet Doors:
Use a screwdriver, or a drill to take
all doors and drawer fronts from the cabinets of your kitchen. Save
all screws and hardware if you do not wish to spend the money for
new ones. New
hardware can be very expensive. The old hardware may even be spray
painted to change the color if needs be.
Locate
a place like the basement if there is on or in the
garage:
You will need
to find and appropriate place to do the work comfortably and away
from children if there are any around the house.
Many homeowners have a basement workshop or one in the garage, or they may even have a shed in the back and if you choose to do this work during the summer time the shed may be a very good place to get such a work done.
Bear in mind that the place should also be well ventilated so that the dust and the odor from chemicals will not negatively impact the home environment during the time the work will be done.
Clean
Cabinets:
Wipe down all
doors and drawer fronts with some kind of degreaser or wood
cleaner. Spraying to get the unwanted residue off may be better
than hand wiping, and it may also be safer.
Remove
Existing Finish of Doors and Drawer
Fronts:
Using a
furniture stripper take the finish off the kitchen doors and drawer
fronts. If you have never done this kind of work before then be
sure to follow the manufactures instructions that are on the
product that you have purchased for this purpose.
Use a mask and rubber gloves for this art of the process. With some products you may not need as much time much time as some others after the application before the removal process begins. Do just one or two doors at a time.
Sanding
the Doors and Drawer Fronts:
Sand the doors
and drawer fronts to a nice smooth finish. Do not, but don’t use
sandpaper or a sanding block that is so fine that the wood pores
are closed up. If you do this it will be hard to stain the wood if
you are doing it by hand.
Using a sander can be tricky and the right size and type must be chosen to avoid lines and gouges on the surface of the wood. As well a sander will not work for small intricate areas of the doors and drawer fronts.
Clean:
Clean away all
dust particles and residue from the cabinets using a completely dry
or slightly damp cloth.
A Wood Conditioner
A wood conditioner may be quite useful to you at this point to get as even a surface finish as possible. However, it is not really necessary.
Stain
or just Varnish:
Whether you
stain the cabinets will depend on the color that you were planning
for in the first place. It is recommended that you go darker than
what had been the original color to cover up areas that you could
not get to – areas such as the details of the doors and drawer
fronts.
If your plan is to paint he doors and drawer fronts then it really does not matter what color you have chosen for this process. If the color you had decided upon is a natural color then simply apply the varnish that you have planned to use.
Final
Step; Varnish:
When the stain
is to your liking and even in every place then you can apply the
varnish. Before varnishing ensure that there is no dust particles
and sanding lines on the surfaces of the doors and drawer
fronts.
Dust particles and sanding lines can be quite unsightly on your doors and drawer fronts.
Make sure that your newly finished cabinets are in a safe place away from very young children or pets who might decide to be curious and leave little finger prints or paw prints to dry into the finish.
Re-installation
When all is done re-install your cabinets and drawer fronts using those fasteners that you had so carefully put away. If these are Dirty spray a cleaning agent onto them to remove the dirt or soak in warm soapy water until all the dirt is lifted off the surfaces of the hardware. Dry carefully by hand, in the sun or use some kind of blow drier for that purpose.
Celebrate:
Celebrate!!!!!!
You have worked very hard. Refinishing cabinets is not a job for
the faint of heart. It can be overwhelming, discouraging, and
downright frustrating. Many people have started the project only to
give up shortly after and call the professionals to do the
job.
While from the perspective of the professional the cost won’t be any higher, yet all that hard work has gone for nothing and all the material purchased will have gone to waste. If you have done a proper job then you have earned the right to the added beauty and enjoyment of your new kitchen.

(Copyright) www.boxbyboxkitchenandbathdesign.com. All Rights Reserved. 2012. Designed and developed by www.gomamawebdesign.com